
So, let’s assume that you are not new to our blog, so you have read and followed out detailed guides on the Top 10 Fastest Web Hosting Providers, How to Choose the Best Web Hosting for Your Website, The Best Managed WordPress Hosting Providers, Best SSD Web Hosting Providers, Best Budget-Friendly Hosting Providers, and by now you’re ready to create your website, and you are considering how to set up a WordPress website as the best way to go. You’re right because there are millions of websites built on WordPress.
In fact, in 2025, WordPress powers over 521 million websites, representing 43.5% of all websites on the internet. This makes it the most used content management system (CMS) globally. People love it for its flexibility, ease of use, and endless customization options. Whether you’re project is starting a blog, building an online store, or launching a business site, learning how to set up a WordPress website is one of the most valuable digital skills you can have today.
learning how to set up a WordPress website opens the door to endless possibilities—whether you’re starting a personal blog, launching a business, or building an online store. WordPress is trusted by some of the biggest names in the world, including the US White House, BBC America, TechCrunch, Sony Music, and even the official James Bond 007 website. Its flexibility, ease of use, and powerful features make it the go-to platform for anyone serious about building a professional online presence.
In this article, I’ll walk you through everything you need to know about how to set up a WordPress website, from choosing the right hosting to customizing your site and hitting that magical “Publish” button. No coding skills required. Just simple clicks. Let’s get started.
What is WordPress
WordPress is a free, open-source content management system (CMS) that allows anyone to create and manage a website without needing advanced technical or programming skills. It is one of the most popular platforms in the world, powering more than 40% of websites on the internet. Whether you’re building a personal blog, a business website, an online store, or even a membership platform, WordPress gives you the tools to do it efficiently.
What makes WordPress especially appealing is how user-friendly and flexible it is. You can design a site using pre-made themes or completely customize it to match your brand or personal style. With thousands of plugins available, you can add features like contact forms, SEO optimization, e-commerce, and more—without ever touching a line of code.
There are two versions of WordPress. The first is WordPress.com, which is a hosted platform where WordPress takes care of the server and backend setup for you. This option is great for beginners who want to get started quickly, though it offers limited flexibility unless you pay for premium plans. The second is WordPress.org, often referred to as the self-hosted version. With WordPress.org, you download the WordPress software and install it on your web hosting account. This gives you full control over your website, its design, and its functionality.
Creating a WordPress website is an exciting journey that can seem overwhelming at first, but with a little guidance, you’ll find that the process is pretty straightforward. Let’s break it down step by step, so you can get your website up and running without a hitch.
Step 1: Pick a Web Hosting Plan and Domain Name
Before you can even think about designing your site, the first thing you need to do is pick a domain name and a web hosting plan. Your domain name is like your website’s address—think of it as the “www.yourwebsite.com” that visitors will type into their browsers. It’s essential that it’s easy to remember and relevant to your brand or site’s purpose.
Now, your web hosting is where your website “lives.” Without it, your website wouldn’t exist online. Hosting is essentially the space on a server where all your files, images, and data are stored. When someone types in your domain name, the hosting service directs them to your site.
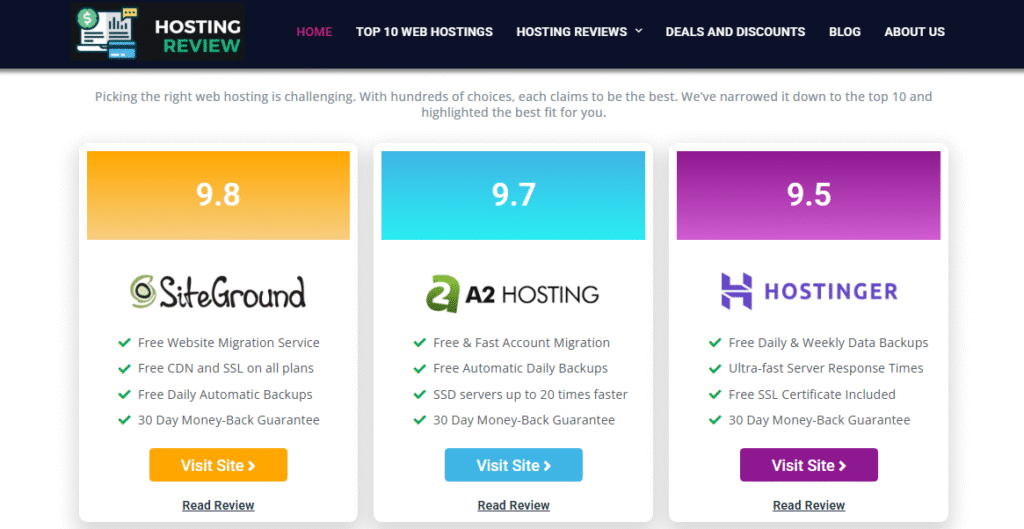
Choosing the right hosting provider is crucial, as it will affect your site’s performance and reliability. Popular providers like Bluehost, Hostinger, SiteGround, and A2 Hosting offer WordPress-friendly hosting options. These services often include a one-click WordPress installation and, in many cases, a free domain for the first year. This is a big bonus for beginners.
When it comes to hosting plans, think about your needs. Shared hosting is the most affordable and beginner-friendly. It’s perfect for small websites or blogs and keeps costs low by sharing server space with other sites. If you want a little more control and performance, Managed WordPress Hosting might be right for you. It’s optimized for WordPress with added security and automatic updates. For high-traffic sites or businesses that need flexibility, VPS or Dedicated Hosting plans offer more power but come at a higher cost.
Step 2: Purchase Hosting and Register Your Domain
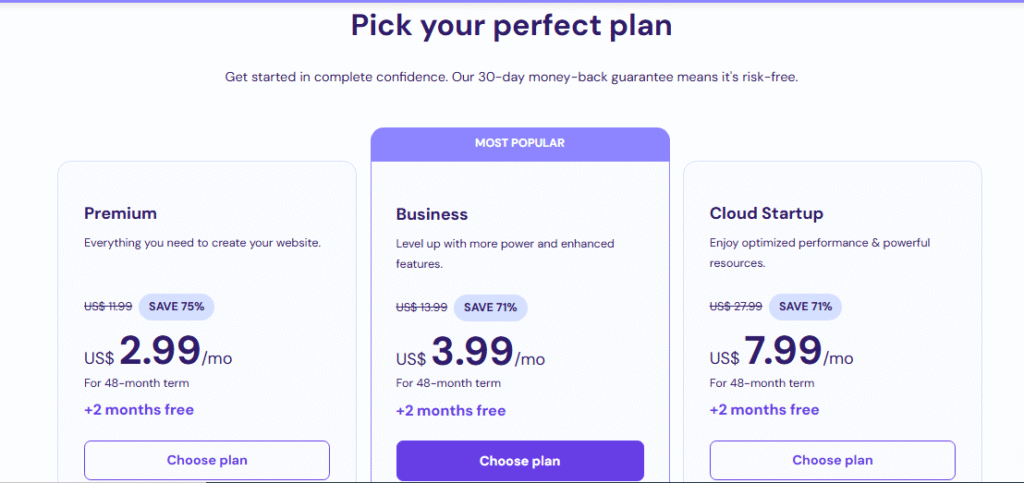
Once you’ve chosen your hosting provider and plan, head over to their website and start the sign-up process. Select the hosting plan that suits your needs—if you’re just starting, a basic shared hosting plan will probably do just fine. If you expect a lot of traffic or plan to run an online store, consider a managed WordPress, Cloud hosting, or VPS plan.
You’ll be prompted to either register a new domain name or connect an existing one if you’ve already bought one elsewhere. Take your time choosing the perfect domain—it’s an important part of your brand identity. You’ll also need to enter your details and payment information to finalize your purchase.
Once you’ve completed the process, you’ll receive a confirmation email with details about your account, login credentials, and a link to access your hosting control panel (also called cPanel). This is your hub for managing everything related to your website.
Step 3: Install WordPress
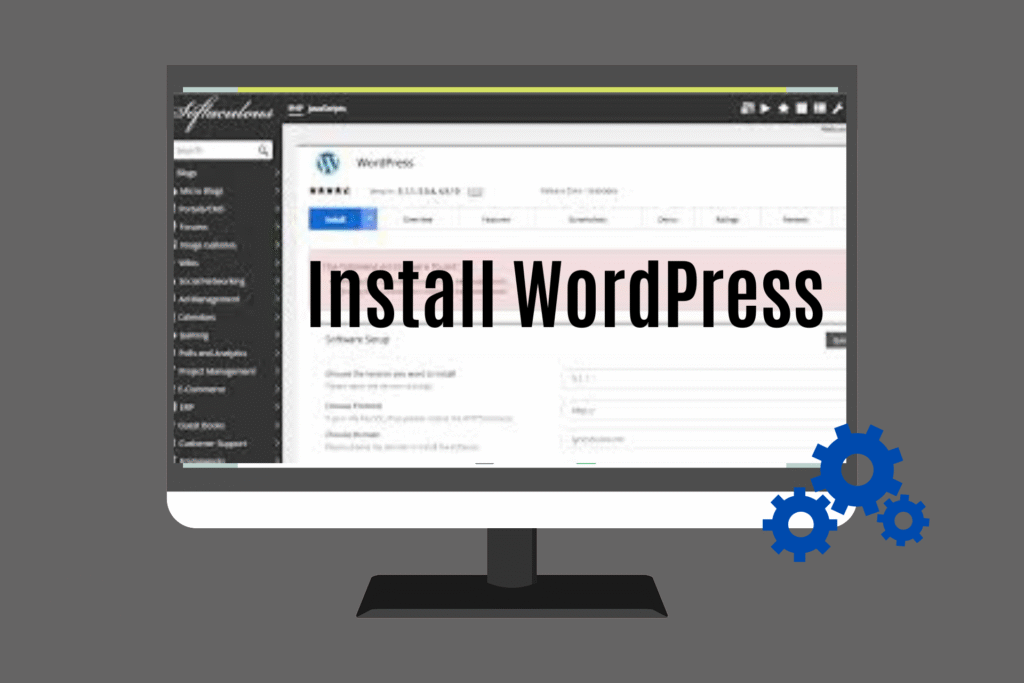
Installing WordPress on your new hosting account is a breeze, thanks to the one-click installation feature offered by most providers. You won’t need to download any files or deal with complicated scripts. Just log into your cPanel, look for a section like “WordPress Installer” or “Softaculous Apps Installer,” and click on it.
Follow the prompts, and you’ll be asked to choose your domain and enter a few basic details like your site title, username, password, and email. Don’t worry if this sounds like a lot—it’s all pretty simple, and most of the work is done automatically in the background.
Once WordPress is installed, you’ll receive a confirmation message along with a link to log in to your WordPress dashboard. Just click on the link (it will look something like “www.yourdomain.com/wp-admin”), and use the username and password you set up to log in. Now you’re ready to start building your site!
Step 4: Log In to Your WordPress Dashboard
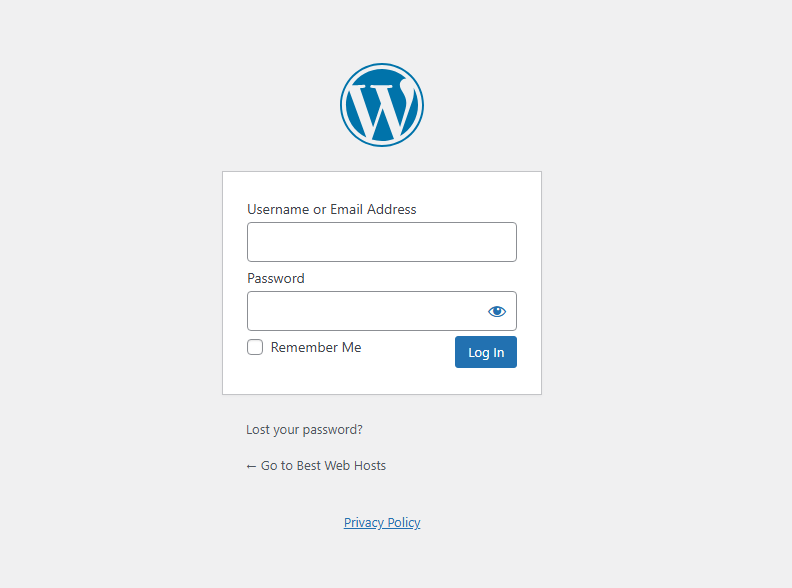
The WordPress dashboard is your command center. It’s where all the magic happens—where you’ll manage your content, design your site, and install plugins to enhance functionality. To log in, simply type “www.yourdomain.com/wp-admin” into your browser and enter the login credentials you created earlier.
Once logged in, you’ll see the main dashboard interface. From here, you can access all the features you need, including settings for posts, pages, themes, plugins, and more. You can change your theme, write blog posts, create new pages, manage comments, and upload media—all from this central hub.
Step 5: Choose a Theme

Now it’s time to give your website a look that reflects your style or brand. WordPress has a wide range of themes, both free and paid, that you can use to determine how your site looks. To get started, go to your WordPress dashboard, click on “Appearance,” then “Themes.” You’ll see the default themes installed, but you can add new ones by clicking on the “Add New” button.
Once you find a theme you like, click “Install” and then “Activate” to apply it to your site. Some popular themes like Astra, OceanWP, and Neve are great choices because they are fast, responsive (meaning they look good on all devices), and highly customizable.
When choosing a theme, make sure it’s mobile-friendly and customizable. You should be able to change the colors, fonts, and layout to match your branding. Also, check the reviews to make sure the theme is well-maintained.
Step 6: Add Essential Plugins
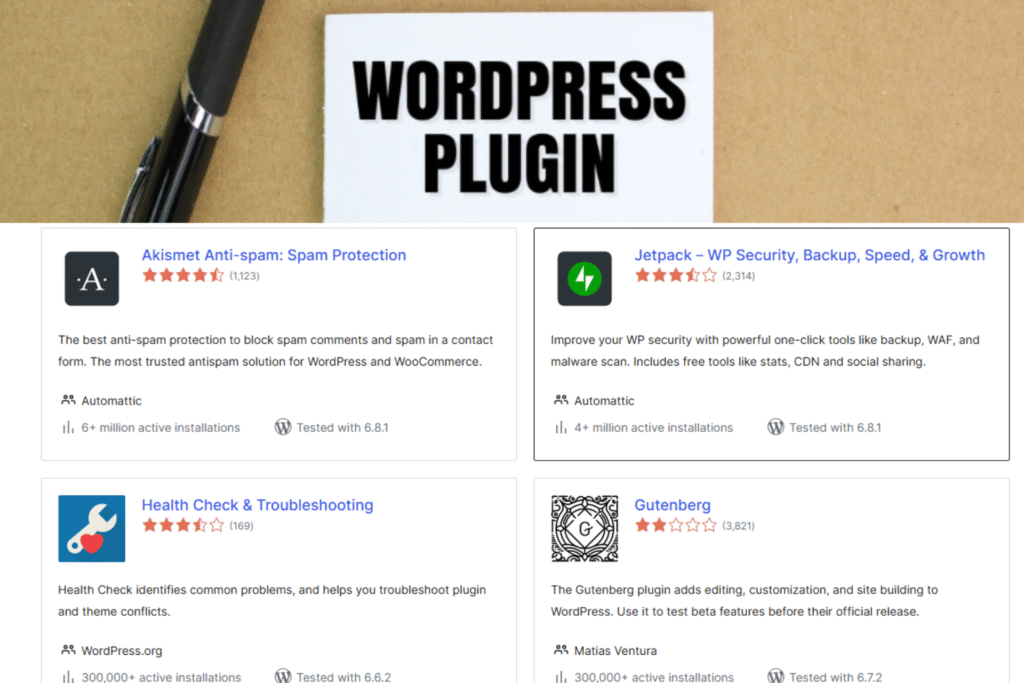
Plugins are like apps for your website—they enhance functionality without requiring you to write any code. To add plugins, go to the “Plugins” section in your dashboard and click “Add New.” From there, you can search for plugins that meet your needs, whether it’s for SEO, security, contact forms, or creating an online store.
Some essential plugins for beginners include Yoast SEO for optimizing your content for search engines, Elementor for creating beautiful page layouts, WPForms for adding contact forms, and WooCommerce if you want to sell products on your site. Wordfence Security is another great plugin to help protect your site from potential threats.
Be careful not to overdo it with plugins. Too many can slow down your site, so only install the ones you truly need.
Step 7: Customize Your Site

With WordPress set up, it’s time to personalize your website. Go to the “Appearance” section and click on “Customize.” This is where you can adjust your site’s colors, fonts, and layout. You can also upload your logo and header image to give your site a professional touch.
Next, start building the core pages of your site. You’ll need a homepage that introduces visitors to your site, an About page where you can share your story, and a Contact page so people can reach you. If you’re selling products or offering services, create a Services or Products page. If you plan to post blogs or updates, create a Blog page.
Once your pages are created, set up a navigation menu so visitors can easily find their way around. You can add the pages you’ve made to the menu by going to “Appearance” > “Menus.”
Step 8: Start Publishing Content

The fun part begins—adding content! Whether it’s blog posts, product listings, or service descriptions, this is where you’ll start sharing your message with the world. Keep it fresh, engaging, and valuable to your visitors.
Remember, building your website is just the beginning. Setting up WordPress involves more than just customizing the design; it’s also about ensuring speed, security, and search engine visibility.
Start by optimizing your content for search engines with plugins like Yoast SEO or Rank Math. These tools help with title tags, meta descriptions, and keywords, making it easier for search engines to understand your content.
Install Google Analytics to track your site’s performance, including visitors, user behavior, and traffic sources, to make data-driven improvements.
To boost speed, compress large image files using plugins like Smush or ShortPixel, and implement caching with tools like W3 Total Cache or LiteSpeed Cache to reduce server load and improve page load times.
For security, install plugins like Wordfence or iThemes Security to protect against threats such as hackers and malware. These offer features like firewalls, malware scanning, and login protection.
Finally, before launching, ensure your site is mobile-friendly, check that all links and buttons work, and verify image loading. Then, share your site on social media, inform friends and family, and submit it to Google Search Console to help with indexing.
Once all steps are completed, you have successfully learned how to set up a WordPress website, and your site is ready for launch.
The more content you create and the better you optimize it for search engines, the more likely you are to attract visitors and grow your online presence.
Conclusion: How to Set Up a WordPress Website
WordPress is an ideal solution for anyone, from beginners to experienced developers, looking to build a professional website with ease and customization power without coding.
Now that you know how to set up a WordPress website, you’re well on your way to joining millions of users who rely on it to bring their ideas to life online.Check out webhostinsider.com to get discount deals on webhostings like Bluehost, Hostinger, Namecheap, and DreamHost. That provides a simple click WordPress installation.
Setting up a WordPress site may feel overwhelming at first, but once you take it step by step, it becomes easy and even fun. Whether you’re building a personal blog, a portfolio, or a full-blown online store, WordPress gives you all the tools you need.
Now that you know how to set up a WordPress website, the real adventure begins — growing your online presence, creating valuable content, and connecting with your audience. But before anything Check out Some of our most popular posts Top 10 Fastest Web Hosting Providers, How to Choose the Best Web Hosting for Your Website, The Best Managed WordPress Hosting Providers, Best SSD Web Hosting Providers, Best Budget-Friendly Hosting Providers, and How to Transfer Your Website to a New Hosting Provider to give you a great head start.